All the applications that are available in the market have pro versions. And those versions are supposed to be a purchase option like a lifetime purchase, subscription base, or selling their digital products. These Android applications are supposed to be integrated with Google Play billing systems.
At the time of development, Android developers need to integrate this feature into the mobile app development time. there are many ways to implement an Android in-app billing system, however, currently, Android developers are using third-party libraries. Also currently Google introduced its own “Google Play billing library” for easy implementation.
This blog will explain about Google Play billing system and how you can use the newly introduced Google Play Billing Library for your Android apps. You need to follow the basics and it will be a smooth process for your mobile app development project.
Table of Contents
What is Google Play Billing System?
Google Play billing system is a service provided by Google. This enables in-app purchases in Android devices of digital products and content.
Google Play’s billing API is the interface through which developers can integrate the billing system into their Android applications. For initiating purchases, handling transactions, managing subscriptions, and querying purchase information provided through it.
The Play Console is the platform where developers manage their apps and publish them on the Google Play Store. It provides many tools for setting prices, managing subscriptions, and analyzing revenue data.
Understanding Google Play Billing System
Google Play billing system offers two main types of products for integration:
1. One-time products: With this option, you can sell products that users purchase once. These products can be further categorized into two types.
- Consumable products: These are items that users can use or consume only once, like gaming currency or virtual coins. Once used, they’re gone.
- Non-consumable products: These items are associated with the user’s Google account permanently. For example, if a user unlocks a level in a game, it stays unlocked for that user indefinitely.
2. Subscriptions: Subscriptions allow users to access a product or service for a specific duration, typically repeatedly. Users can choose from various subscription options, each offering different features or levels of access. Subscriptions are automatically renewed according to the user’s payment preferences.
Also Read: The Future of Android: Exploring AI-Infused Apps and Voice Assistants
Steps to Integrate Google Play Billing System in Android Apps
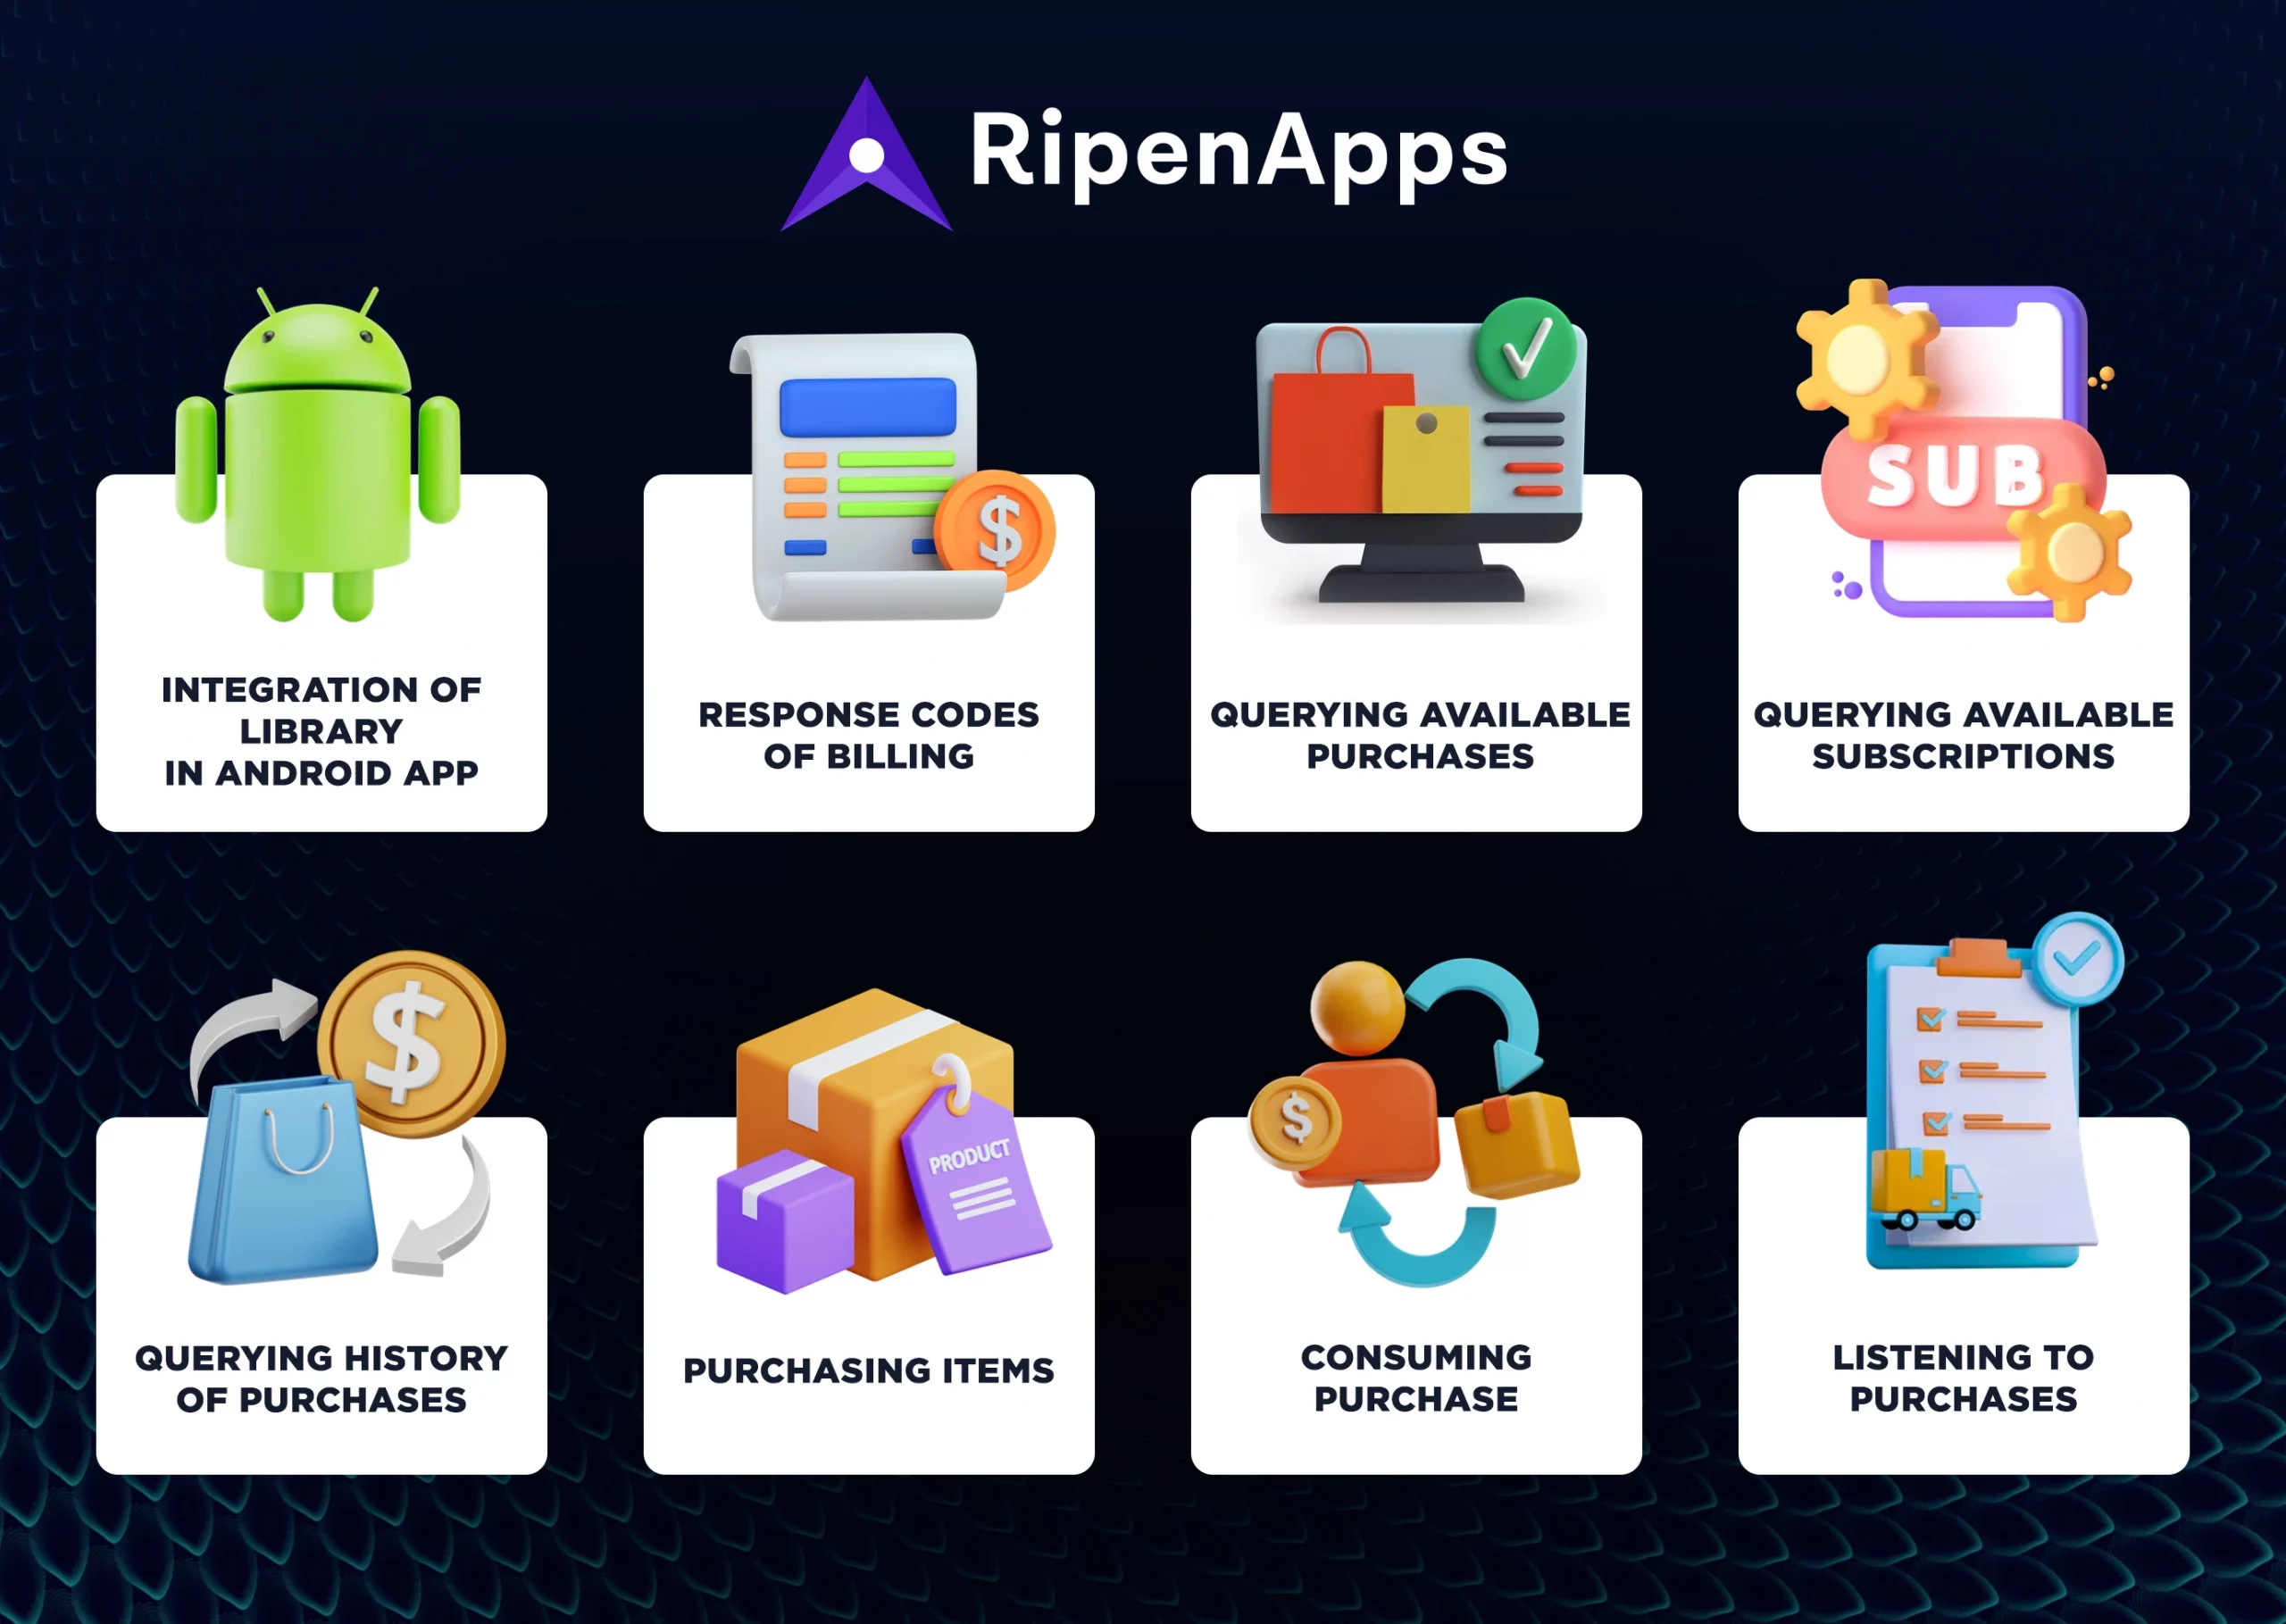
Integration of Library in Android App
First, you need to add a dependency in your project’s “build.gradle file” to include the billing library. This guarantees that your project can access the necessary tools for handling in-app purchases.
After adding the dependency, you create an object of the BillingClient class. This object is like a tool you’ll use to interact with the billing system. You initialized it by specifying the activity you are working with and setting a listener that will receive updates about purchases.
implementation 'com.android.billingclient:billing:1.0'
Note: Make sure to look for the Google version and change it accordingly.
mBillingClient = BillingClient.newBuilder(this)
.setListener(mPurchasesUpdatedListener)
.build():
Once you have this BillingClient object ready, you need to establish a connection with the in-app billing API. This connection request happens asynchronously, meaning it doesn’t block your app’s main thread. You provide a listener that will inform you about the status of the connection.
BillingClientStateListener mBillingClientStateListener = new BillingClientStateListener() {
@Override

public void onBillingSetupFinished(int responseCode) {
// Handle setup finished
}

@Override
public void onBillingServiceDisconnected() {
// Handle service disconnection
}
};

mBillingClient.startConnection(mBillingClientStateListener);
When the connection is successfully established, the onBillingSetupFinished () method gets triggered, allowing you to perform actions like querying purchases or making new ones. However, if the connection fails, the onBillingServiceconnected () method is called, and you’ll need to handle scenarios like retrying the connection.
Whenever you interact with the Google Play billing system, you’ll receive response codes indicating the result of your request. That’s the basic gist of integrating the Google Play billing library into an Android app.
Response Codes of Billing
There are a total of 11 response codes you will encounter when working with the Google Play billing system.
BILLING_UNAVAILABLE: This version of the response code means that the Google Play billing system is not supported.
DEVELOPER_ERROR: This version of the response code means that the developer has provided incorrect information or arguments.
ERROR: This response code occurs when there is a general problem executing the request.
FEATURE_NOT_SUPPORTED: This action occurs when the asked-for action is not supported on the current device.
ITEM_ALREADY-OWNED: This response code returns when a user tries to buy something that has already been bought before.
ITEM_NOT_OWNED: This response occurs when the user tries to consume something they have not purchased.
ITEM_UNAVAILABLE: This response says that the item the user wants to buy isn’t available.
OK: The request is successful. This comes when the query is successfully executed.
SERVICE_DISCONNECTED: This occurs when there is a problem with the connection to the billing service.
SERVICE_UNAVAILABLE: This response code occurs when there is a problem with the device’s network connection.
USER_CANCELED: A response code when a user decides to cancel the request manually.
These response codes help you understand what actions are happening when dealing with in-app purchases in Android.
Read Also: How does Apple Pay and Google Pay work
Querying Available Purchases
There are multiple types and variants or packages users can purchase from an Android app. For all this, Android developers need to ask the Google Play store billing for the particular package or items the user is buying.
To make this request, you need to use something called SKU (Stock Keeping Unit). It is a unique ID for each item. It also specifies whether these items are for one-time purchases (in-app) or subscriptions.
First, you need to create an object in a class called SkuDeatilsParams. Set it up by providing the list of SKUs that interest you and the type of SKUs you want details for.
Then, you can use this SkuDetailsParams object to request by calling a method called querySkuDetailsAsync () on the BillingClient object we created earlier.
SkuDetailsParams mSkuDetailsParams = SkuDetailsParams
.newBuilder()
.setSkusList(mListSkus)
.setType(BillingClient.SkuType.INAPP)
.build();

SkuDetailsResponseListener mSkuDetailsResponseListener = new SkuDetailsResponseListener() {
@Override
public void onSkuDetailsResponse(int responseCode, List<SkuDetails> skuDetailsList) {
}
};

mBillingClient.querySkuDetailsAsync(mSkuDetailsParams, mSkuDetailsResponseListener);
This process will help you get the necessary information about the items available for purchase. It will be easy for the users to choose what they want to buy or what not.
Querying Available Subscriptions
Similar to fetching available items for purchase, sometimes you also need to show users a list of available subscription packages for your app.
To do this, use the same approach as fetching available items. Create an instance of the SkuDetailsParams class, just like before. But this time, instead of specifying BillingClient.SkuType.INAPP, specify BillingClient.SkuType.SUBS to indicate that you’re interested in subscription details.
Then, use this SkuDetailsParams object to make the request, just like before. This helps in getting the necessary information for the available packages. It can be displayed to the users and they can choose which one they want to buy.
SkuDetailsParams mSkuDetailsParams = SkuDetailsParams
.newBuilder()
.setSkusList(mListSkus)
.setType(BillingClient.SkuType.SUBS)
.build();

SkuDetailsResponseListener mSkuDetailsResponseListener = new SkuDetailsResponseListener() {
@Override
public void onSkuDetailsResponse(int responseCode, List<SkuDetails> skuDetailsList) {
}
};

mBillingClient.querySkuDetailsAsync(mSkuDetailsParams, mSkuDetailsResponseListener);
Querying History of Purchases
Sometimes, developers need to show users a list of items they’ve already purchased. This could be for various reasons, like showing what content they have access to or displaying their transaction history.
To do this, use a method called queryPurchaseHistoryAsync(). This method helps to fetch a list of items that the user has bought.
Now, you might be thinking, “Can’t we use queryPurchases() for this?” Well, there’s a slight difference. The queryPurchases() method returns results from cached data, whereas queryPurchaseHistoryAsync() fetches the most up-to-date information from the server.
To use queryPurchaseHistoryAsync(), you can call it on the BillingClient instance and specify the type of items you’re interested in, just like before with SkuDetailsParams. It also provides an instance of PurchasesUpdatedListener, which is a listener that handles the response from the request.
PurchaseHistoryResponseListener mPurchaseHistoryResponseListener = new PurchaseHistoryResponseListener() {
@Override
public void onPurchaseHistoryResponse(int responseCode, List<Purchase> purchasesList) {
}
};
This way, you can get the list of items the user has purchased and use it in your app as needed.
Purchasing Items
Let’s break down how Google Play store billing works:
Setting Up BillingFlowParams: To buy an in-app item, use BillingFlowParams. First, create an instance of BillingFlowParams using newBuilder(). Then, specify the SKU (Stock Keeping Unit) of the item the user wants to buy using setSku(), and we set the type of item using setType() (e.g., BillingClient.SkuType.INAPP).
BillingFlowParams mBillingFlowParams = BillingFlowParams.newBuilder()
.setSku(mStringSku)
.setType(BillingClient.SkuType.INAPP)
.build();
Initiating the Purchase: With our BillingFlowParams ready, you’re set for action. Use the launchBillingFlow() method to start the purchase process. It takes two parameters: the reference to the activity where the purchase flow is launched from (needed for callbacks), and the BillingFlowParams object is created earlier.
int responseCode = mBillingClient.launchBillingFlow(this, mBillingFlowParams);
Completing the Purchase: When you execute this code, a dialog opens displaying details of the item you selected, such as its name, description, and price. You’ll then be prompted to choose a payment method (like debit or credit card) and make the purchase. Once payment is successful, the item is yours!
That’s the basic process of buying an item within an app.
Also Read: How to Build and Deploy Android App Bundles
Consuming Purchase
Imagine you’re playing a car racing game, and you’ve bought some petrol tanks to use during the race. Now, as you race, you need to use up the petrol from these tanks. That’s where the consume feature comes in handy.
To consume an item you’ve purchased, like a petrol tank, you use a method called consumeAsync() provided by the Google Play Billing Library. This method needs two things:
The purchase token for the item you want to consume. You can find this token either in the response when you initially bought the item or when you fetched the list of purchased items earlier.
A listener called ConsumeResponseListener. This listener gets called when the consumption request is completed. It gives you a response code (like the billing codes we talked about earlier) and the purchase token that was consumed.
Here’s how you set up the ConsumeResponseListener:
ConsumeResponseListener mConsumeResponseListener = new ConsumeResponseListener() {
@Override
public void onConsumeResponse(int responseCode, String purchaseToken) {
// Handle the response here
}
};
And then, you call the consumeAsync() method using your BillingClient instance:
mBillingClient.consumeAsync(mPurchaseToken, mConsumeResponseListener);
The item is now consumed and successfully used up in your application.
Listening to Purchases
Remember when we created the BillingClient instance, we also set up a PurchasesUpdatedListener using the setListener() method. Well, this listener is like the glue that connects everything in a user’s purchase process.
When you buy something or subscribe to a service, the onPurchasesUpdated() method of this listener gets triggered. It gives information about the latest purchases or subscriptions.
Here’s how you set up the PurchasesUpdatedListener:
PurchasesUpdatedListener mPurchasesUpdatedListener = new PurchasesUpdatedListener() {
@Override
public void onPurchasesUpdated(int responseCode, @Nullable List purchases) {
// Handle the updated purchases here
}
};
Whenever there’s a change in your purchases or subscriptions, this method gets called with the relevant data. This listener helps you stay updated and manage purchases effectively within your app.
Conclusion
To summarize this blog, we have mentioned all the possible steps and points of the Google Play billing system. It teaches you how your developers can integrate the Google Play billing library into your Android application.
After all the knowledge, you can see the benefits of integrating in-app purchases in Android. It will be an easy task for your Android users to complete any kind of payment, easily.
If you do not have the proper experience in integrating the Google Play billing system, you can surely reach out to the top Android app development company. So that you can focus on other details for your business.
FAQs
Q1. How does the Google Play billing system work?
Google Play billing system has its libraries, provided by Google itself. It enables in-app purchases and subscriptions within their Android applications. General work process:
- Integration
- Setting up products
- Displaying products
- Making purchases
- Payment processing
- Confirmation and delivery
- Consumption and subscription management
- Handling errors and refunds
Q2. Is the Google Play billing system secure?
Google Play billing system provides a convenient and secure way for developers to monetize their Android apps through in-app purchases and subscriptions. It also provides a seamless experience for users.
Q3. What type of system is a billing system?
A billing system is specifically designed to manage the payment process and collection of a company. Its main purpose is to maintain and improve the cash flow process with efficiency and security.



 India
India USA
USA Australia
 Canada
 UK
UK UAE
UAE
